Home / Color Matched Epoxy Fills
Color Matched Epoxy Fills
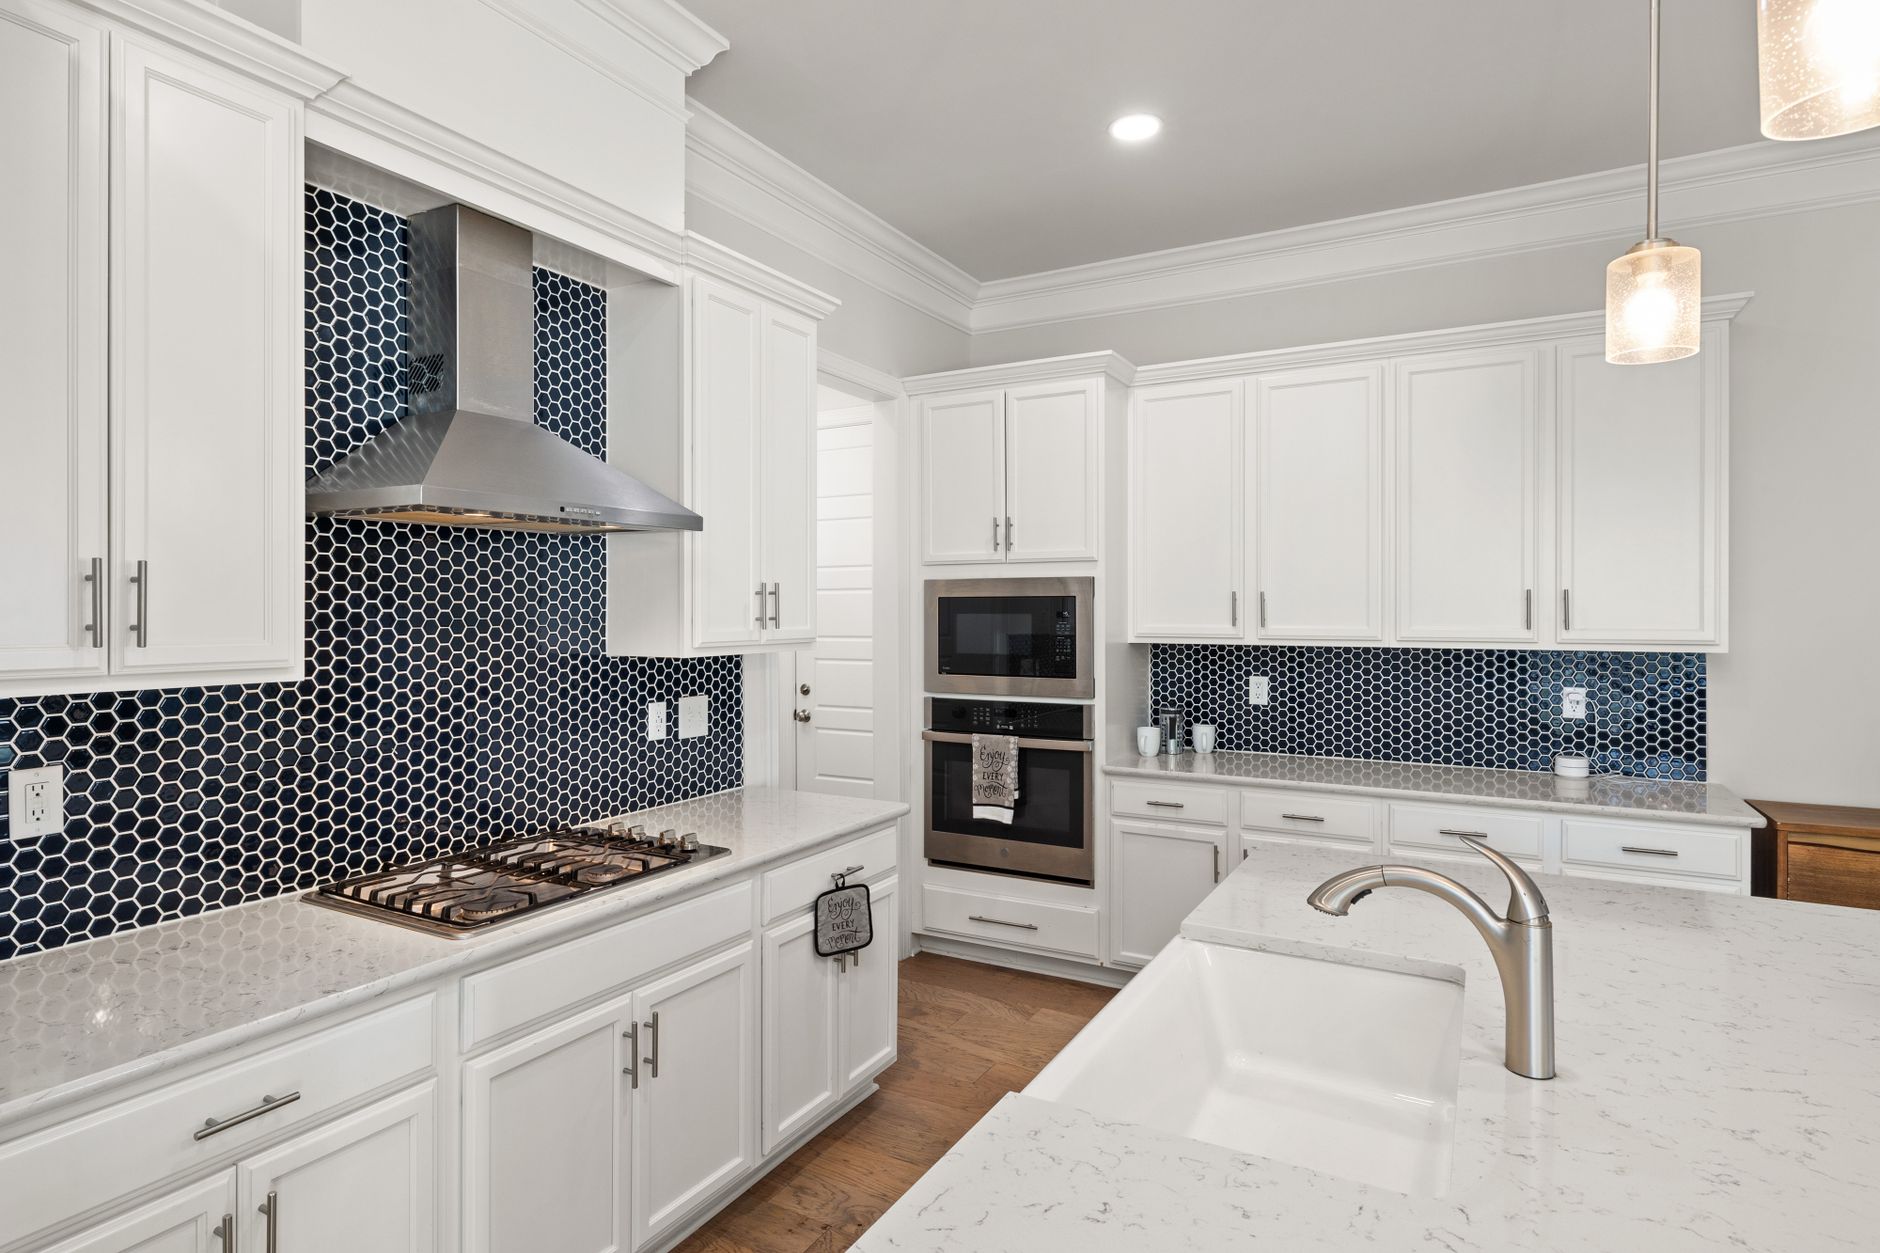
A chip on a counter edge catches the eye far more than its size deserves. A pit the width of a pencil tip can seem to glow against a dark stone, and a fill that is the wrong shade can look worse than the damage it covers. Color matching is the craft that decides whether a repair disappears or announces itself, and most of it comes down to patience with pigment.
Why epoxy is the usual filler
Two part epoxy and polyester resin are the standard materials for filling stone and quartz. Both start as a thick liquid or paste, harden through a chemical reaction rather than by drying, and bond strongly to the stone around the damage. Epoxy is the more common choice for chips and pits in kitchen counters because it shrinks little, resists moisture and grips smooth surfaces well. Polyester sets faster and is often used in shops for seams and quick fills, but it is more brittle and gives less working time.
The clear resin on its own would show as a glossy yellowish patch. To blend with stone, it is tinted. Fine pigments or stone dust are stirred in until the filler resembles the surrounding material, then the patch is cured, sanded and polished.
Start with an honest look at the stone
Stone is rarely one color. A speckled granite contains black, white, gray and sometimes pink crystals, and the eye reads the overall pattern rather than any single shade. A solid white quartz may have a faint warm or cool cast. Before mixing anything, a good repairer studies the counter in the light it normally sits in, since window light, under cabinet lights and overhead lamps all shift how a shade looks. Matching under a shop light and then checking under a kitchen light is a classic cause of a repair that looks fine on the day and wrong at dinner.
It also helps to look at a spot beside the damage in the same finish. A polished area is darker and richer than a honed one in the same stone, so the target shade depends on the finish that will be left.
Building the color in layers
Mixing a match is slow and incremental. The usual approach begins with a small amount of resin on a clean, non porous surface, such as a palette or a scrap of glass. Pigment is added in very small touches, because strong colors can overwhelm a mix and cannot be pulled back out. Typical building blocks include black, white, brown, yellow and red, and the shade is judged against the stone by placing a dab directly beside the damage.
Because the mix darkens or lightens slightly as it cures, experienced repairers cure a tiny test drop first. A pale looking mix may harden a little deeper, and a glossy surface can read differently from a wet one. Only when the cured sample sits convincingly against the stone is the real fill mixed.
Handling speckled and veined stone
A single flat shade rarely hides a repair on a busy stone, since the surrounding area has visible variation. The trick is to reproduce it. For granite, the repairer might mix a base color close to the dominant tone, then press in tiny amounts of coarse dark and light grains so the patch has its own flecks. For veined marble or quartzite, a fine brush can lay a faint streak across the fill to continue a vein that the chip interrupted.
Often it works best to build a repair in two steps. The first layer fills the depth with a base mix. The second thin layer carries the fine detail. Layering also avoids bubbles, which form when a deep cavity is filled in one pour.
Preparing the damage
A fill is only as good as the surface under it. The chip should be cleaned of dust, grease and loose fragments, using a solvent such as denatured alcohol or acetone, and left fully dry. Oil in the stone around a pit can prevent adhesion and show as a dark halo later. Sharp, crumbling edges are sometimes trimmed back so the resin bonds to solid material.
For a chip with a piece still attached, the best repair is to reglue the original fragment, because it already matches perfectly. Epoxy fills are then needed only for the hairline gap and for any missing crumbs along the edge.
Applying and finishing the fill
- Mix the two parts thoroughly in the stated ratio, then tint, since uneven mixing leaves soft spots that never harden.
- Press the filler into the cavity with a plastic spreader or a small knife, working it down to remove air.
- Leave the fill slightly proud of the surface, because cured resin is shaved down level afterward.
- Allow the resin to cure for the stated time. Rushing this step leaves a soft spot that smears under sanding.
- Slice the excess off with a fresh razor blade held nearly flat, then smooth it with fine wet sanding pads if needed.
- Polish the area to match the finish of the surrounding stone, or leave it matte on a honed surface.
What a good result looks like
A well matched fill is not invisible at a nose length view, and repairers do not claim it is. It should be invisible at a standing view, from about the distance of a normal glance. The edge of the patch should have no hard line, the sheen should match, and any grain in the stone should look natural. If the patch is shinier than the stone, a light buff with a fine pad will tone it down. If it is darker, the cause is usually too much pigment or a surface oil that was never cleaned.
Where fills do not hold up
Epoxy is dependable in most counter locations, but a few spots shorten its life. Direct heat softens it, so a fill near the cooktop edge may discolor if hot pans are set on it. Constant standing water at a sink rim can attack a poorly cured patch. Heavy impact loads, such as a corner that gets hit by chairs or appliances, can chip around a fill because the resin is softer than stone. In sunny rooms, some resins yellow slowly under strong light, which becomes noticeable on very white or very pale counters.
Light colored stone is the hardest to match, because any trace of yellow shows. For a pale marble or white quartz, repairers often use a resin sold as water clear and low yellowing, and tint it with very small amounts of white and a touch of gray.
Doing it at home versus calling a repairer
Retail repair kits exist, and they work reasonably for small chips on dark or speckled surfaces that hide variation. They are less successful on pale or solid colors, because the pigment choices are limited. A professional carries a wider set of pigments, a range of resin types and the tools to sand and polish to a factory finish. For a visible spot on a show counter, such as a front edge or an island corner, trained hands are worth the trip. For an out of the way pit in dark granite, a careful homeowner with a kit and good light can get a perfectly acceptable result.
Either way, the principle is the same. The filler is small, the match is built slowly, and the final judgment is made under the real lighting of the kitchen after the resin has fully cured.